Well, I made something in the garage that uses electricity and I managed to not kill myself or burn the house down. Score one for me!
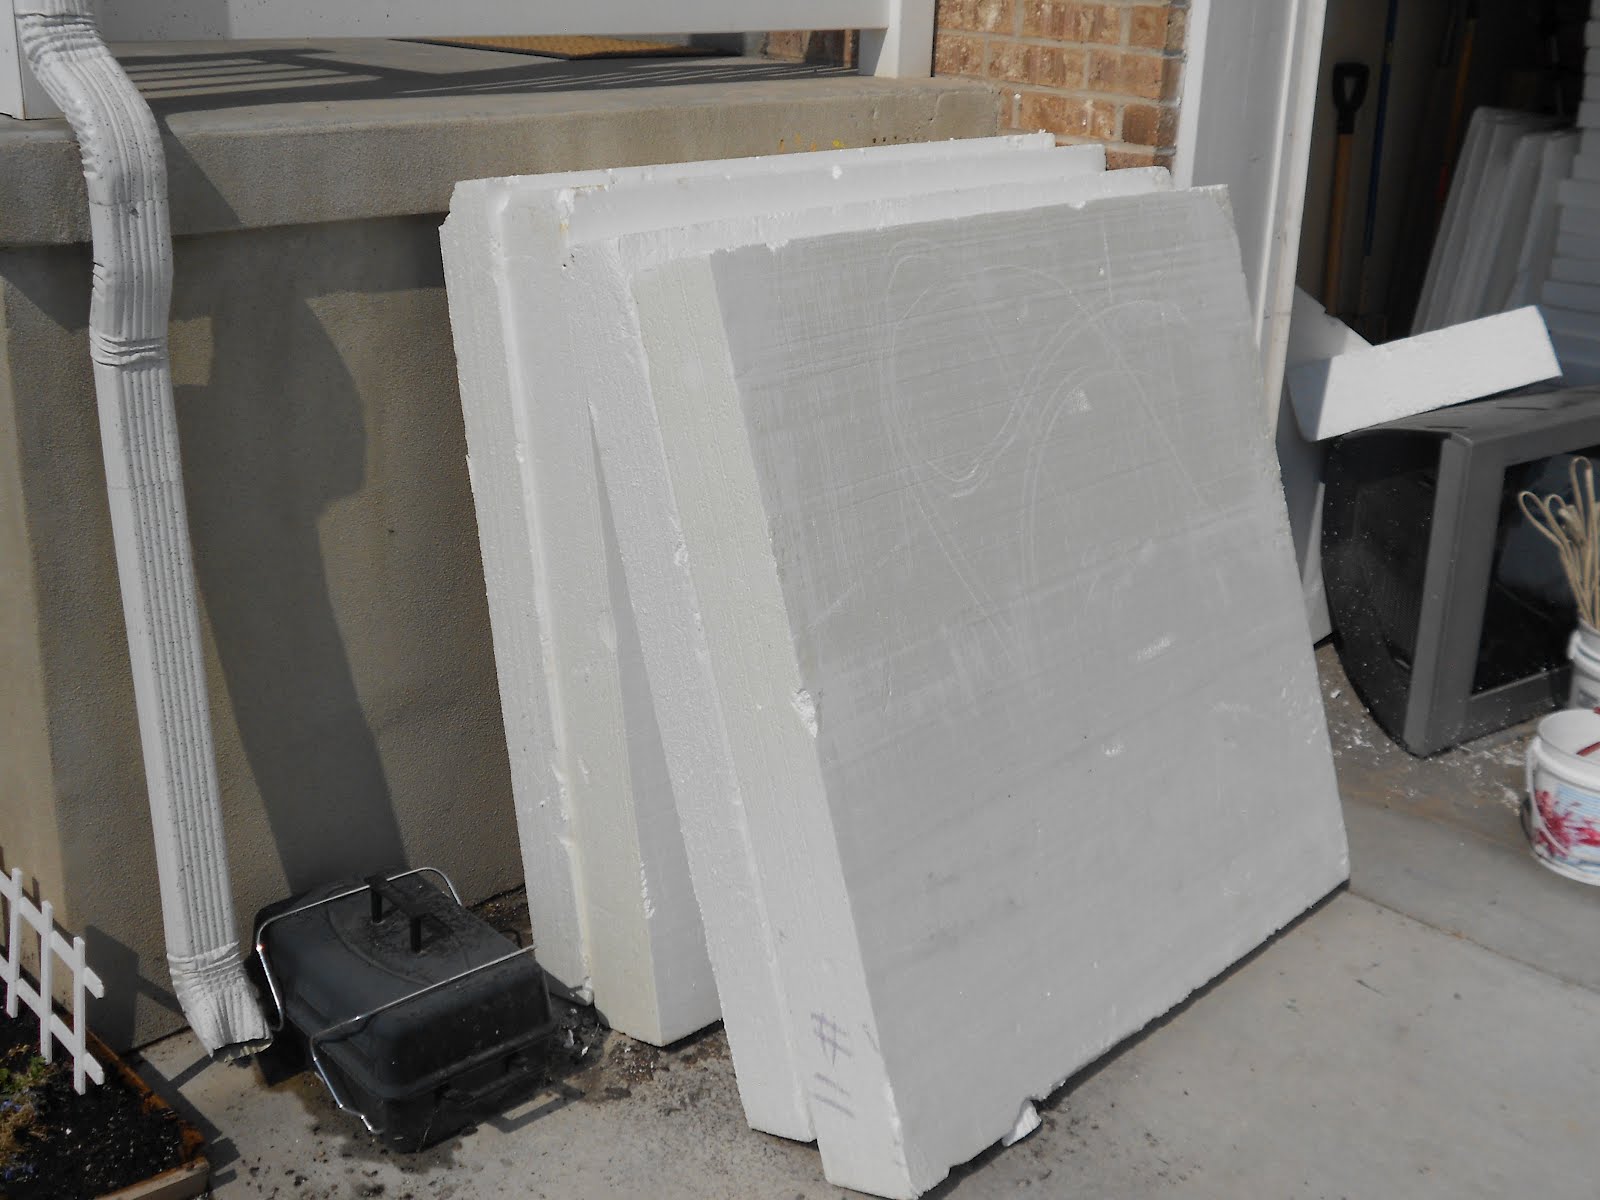
As stated in a previous post, I have two great stacks of styrofoam sheets that are waiting to be made into tombstones. I also was able to find these even larger sheets of styrofoam at another construction site only a block away from my house.
I used a handsaw to cut this cross and base out of one of the large sheets of styrofoam. Cutting styrofoam with a handsaw is very messy and limits you to only straight cuts. I want to be able to have curved details on most of my tombstones, so I needed to devise another method of cutting styrofoam; one that allows for curved cuts and preferably one that is less messy. I know that many haunters use a tabletop hot wire foam cutter. That project seemed a little daunting to me, so I looked online for a less complex version. I found a couple of instructables for handheld versions of the hot wire foam cutter that seemed fairly simple.
Most of the instructables for handheld hot wire foam cutters call for wood in the construction of the base. I opted to use a length of PVC pipe that I had laying around. I applied heat and bent the pipe to create the arms of the hot wire foam cutter. I drilled holes in the arms, close to the ends and inserted eye bolts fastened with wing nuts.
Here is a close-up of the eye bolt/wing nut assembly.
Another close-up at an angle.
I stole the nichrome wire from a hair dryer that I found at the D.I. and I used an A/C D/C power converter or "wall wort" also from the D.I. to power the hot wire foam cutter.
Here is a cose-up of the wires attached to the eye bolt. No soldering required.
This picture shows the power cables secured with cable ties to keep them out of the way.
Here is a chunk of styrofoam on which I have drawn a simple design.
Here is the finished cut. Nice and smooth and virtually no mess. I am excited to cut out some tombstone forms using my new hot wire foam cutter that I made by myself.
Saturday, September 22, 2012
Tuesday, September 4, 2012
Long Weekend of Prop Building
I am taking advantage of a long weekend to do some prop building in the garage. I mixed up a batch of paper mache for a couple of projects.
Here is the beginning of my first ground breaker.
Here are a couple of pumpkins that will be carved and corpsed.
I am also cutting down the rest of my bottles to make more Halloween lanterns.
I made another huge haul of foam sheets for tombstones while dumpster diving. The sheets on the left measure 24" wide and 40" tall. The sheets on the right measure 16" wide and 45" tall. All of the sheets are 2 1/2" thick. The two different sizes should yeild a good variety of tombstone shapes.
I salvaged 34 sheets of each size of foam. I could have brought even more home; but my wife would have killed me. This should be enough...for this year.
Wednesday, June 13, 2012
Tin Punched Lanterns

I toss about 15-20 of these gold cans in the recycling bin at work every day. I decided to rescue a couple and try making some tin punched lanterns. I have put out the call on the forums for links to cool Halloween"ish" patterns. Hopefully I can create something worthy of The Yard of the Living Dead.
Labels:
Halloween,
Halloween Lanterns,
Props,
Tin Punched
Thursday, February 16, 2012
In Support of a Podcast For Haunters, By Haunters.
I already have $100.00 set aside from my 2011 tax returns for my subscription.
Check out this video summarizing the fan-based movement to resurrect Hauntcast.
Saturday, November 12, 2011
A Brief Essay on the Versitility of PVC Pipe.
Hello everyone. As part of an assignment for my ENGL 4500 class this semester, I have written a short essay about the many uses of PVC pipe for home haunters.
PVC pipe has been described as "Tinker Toys for haunters". I learned first-hand just how true this statement was when I spent the better part of two months constructing all of the props for my home haunt this year. My former employer was a fence manufacturer and I was able to acquire a large amount of PVC pipe for free. Any home haunter will tell you that first, free stuff is good and second, free PVC pipe is awesome.
Because my home haunt will have a cemetery theme this year, I wanted to start out by constructing a cemetery fence that gives the appearance of wrought iron. This fence will get reused year after year so it needs to be sectional for easy storage and sturdy enough to last for many seasons. I decided to construct my fence in eight-foot sections. The horizontal "bars" are made from scrap wood; 2 x 4's for the bottom "bars" and 1 x 4's for the middle and top "bars". The vertical "bars" are made from PVC pipes that have been cut to different lengths and arranged to give the fence sections a peaked appearance. Holes have been drilled in the horizontal "bars" at six inch intervals to accommodate the PVC pipes which have been secured with screws. Each eight-foot section of cemetery fence has fifteen vertical PVC pipe "bars". The entire fence section has been painted black to give the appearance of wrought iron. Since setting up the fence in my front yard, I have had several people comment on it thinking that it was a real wrought iron fence.
I also used PVC pipe in the construction of the tombstones for my cemetery. Three-foot sections of PVC pipe were sandwiched between two 1 1/2 thick pieces of Styrofoam. The Styrofoam sheets were made into tombstones of different sizes and shapes. The lengths of PVC pipe were placed over re bar which had been pounded into the ground to anchor the tombstones and keep them from falling over.
PVC pipe doesn't have to be used only in applications that require straight forms. PVC pipe can be bent into any shape with the application of heat. I used a heat gun to soften several three foot sections of PVC pipe. The PVC pipe was then turned or rolled into a spiral shape. When the desired shape was obtained, the PVC pipe was submerged in cool water to make it rigid again. Once PVC pipe has been softened and re-cooled, it is actually stronger than it was previously. These PVC pipe spirals were attached to the stone columns of the cemetery fence and used as brackets from which lanterns were hung
A heat gun can also be used to heat and bend PVC pipe into a shape that can be used as an armature for a skeleton or corpse that can inhabit the cemetery. Here is a shot of a corpse-in-progress.
Here are a few pictures of the cemetery as it looked on Halloween night.
Tuesday, November 1, 2011
Jack-O-Lanterns 2011
We continued our annual pumpkin carving tradition this year. Our kids did theirs pretty much by themselves. We listened to the Halloween Party channel on Pandora Radio while we carved this year's Jack-O-Lanterns and had a thoroughly enjoyable time.
Labels:
Halloween,
Jack-O-Lanterns,
Pumpkin Carving,
Pumpkins
The Yard of the Living Dead 2011
Here are some shots of The Yard of the Living Dead taken late Halloween night.
Everything looked pretty good this year. Our display is still fairly small; but we spent a lot of time doing things the right way. Our cemetery fence looks authentic, is strong, and can be reused year after year. We ditched the cardboard tombstones and replaced them with styrofoam tombstones that look better and last longer. We spent time creating a satisfying fog effect. All in all I think we have a good foundation to build upon in the coming years. Next year I would like to create a more integrated LED lighting system and incorporate sound as well. I want to finish the corpses that I started this year and my wife wants to add some cemetery gates and an archway. Lots to do and my wife has made me promise not to procrastinate on anything. This blog will be the place where I post pictures and progress reports on preparations for The Yard of the Living Dead 2012. Thanks to everyone who checked out my blog this year. I promise to make next year even more entertaining.
Labels:
Cemetery Fence,
Fog,
Halloween,
Lighting,
Props,
The Yard of the Living Dead
Trick or Treat, Day of the Dead Style
My wife and I decided that we wanted to try our hand at creating some Day of the Dead make up effects for our kids' costumes this year.
You can kind of tell by the style of the teeth, that I did the make up for our two youngest kids on the left and our oldest on the right. My wife did her own make up and the make up for our oldest daughter in the back on the right. The kids had a great time and they got a lot of compliments on their make up.
Here are some close ups of the make up.
Subscribe to:
Posts (Atom)